Planning Your Pipe Kitchen Decor
Before diving into the world of pipe kitchen decor, careful planning is crucial. Consider the overall aesthetic you’re aiming for. Do you want an industrial, rustic, or modern look? This will influence your choice of materials, colors, and finishes. Measure your kitchen space and sketch out your ideas, noting where you plan to install shelves, pot racks, or lighting fixtures. Think about the functionality of your decor. Will the shelves hold heavy items? Do you need ample lighting for food preparation? Create a budget to guide your project, as costs can vary depending on the materials and tools you choose. Research inspirational images online and in magazines to gather ideas and visualize your finished project. Proper planning ensures a smooth and successful DIY experience. The planning stage is crucial to avoid costly mistakes and achieve the desired result.
Choosing the Right Materials
The materials you select will significantly impact the look, durability, and cost of your pipe kitchen decor. The most common type of pipe used is black iron pipe, known for its industrial aesthetic. However, consider galvanized steel pipe for a more modern, slightly less rustic look. Copper pipes offer a sleek, contemporary appeal, though they come at a higher price point. Assess your kitchen’s environment. Is it prone to moisture? Choose pipes that resist rust and corrosion. Consider the weight capacity of the items you plan to display. Opt for thicker pipes for heavier items to ensure safety. Don’t forget the finish. Black iron pipes can be left as is for a raw industrial look, painted for a custom design, or coated with a sealant for protection and style. The right material selection is the first step to a successful, long-lasting pipe decor project.
Types of Pipes for Decor

Several pipe types are suitable for pipe kitchen decor. Black iron pipes are readily available and affordable, making them a popular choice for industrial-style projects. Their dark color and rough texture add character, though they require sealing to prevent rust. Galvanized steel pipes offer a similar look with added rust resistance. They are ideal for humid environments. Copper pipes bring a touch of elegance to your kitchen, with their shiny, warm finish. Copper is a more expensive option, best suited for specific design accents. Consider PVC pipes for lightweight and cost-effective solutions. While they lack the industrial aesthetic, they can be painted or covered to suit your style. Ultimately, the best type of pipe depends on your desired look, budget, and the intended use of your decor.
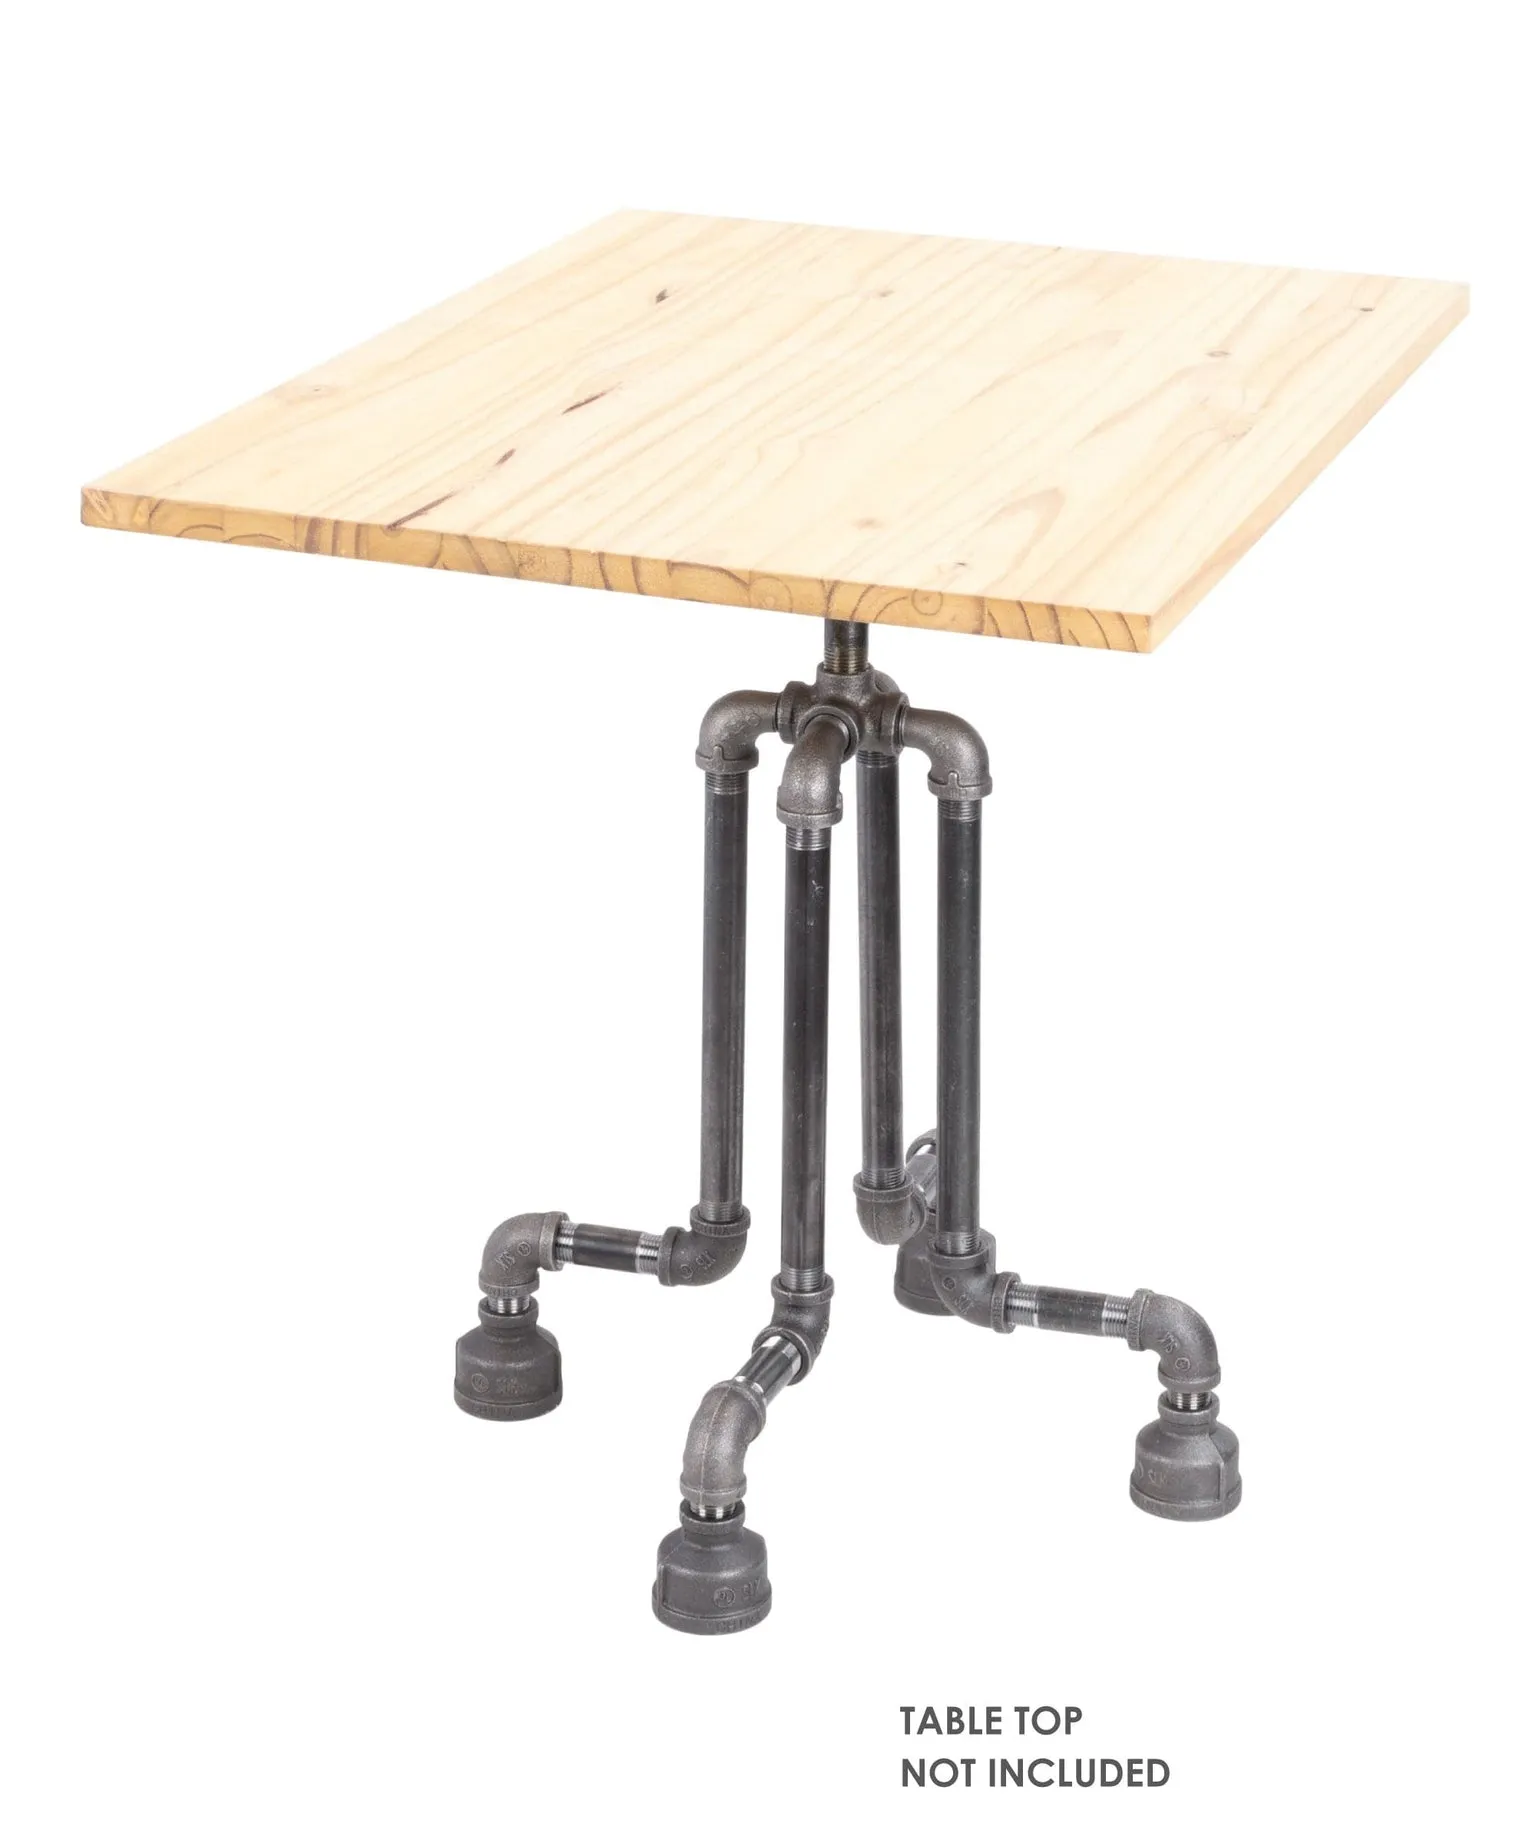
Pipe Fittings Explained
Pipe fittings are essential for connecting pipes and creating the desired structures. Understanding the different types of fittings is crucial for a successful project. Threaded fittings are the most common type, connecting pipes by screwing them together. These include elbows (for changing direction), tees (for creating branches), couplings (for joining pipes end-to-end), and flanges (for attaching to walls or surfaces). Flange fittings are used for a secure and stable mounting option. Compression fittings create a watertight seal without threads, ideal for quick assembly and disassembly. The choice of fittings depends on your design and the required level of strength and permanence. Choose fittings that match your pipe type and planned aesthetic. Take care to select fittings that fit your chosen pipes to ensure structural integrity and visual appeal.
Essential Tools for Pipe Decor
Gathering the right tools makes the building process easier and ensures a professional finish. A pipe cutter or hacksaw is necessary for cutting pipes to the desired lengths. A pipe threader is needed if you’re working with threaded pipes and fittings. A pipe wrench is essential for tightening fittings securely. A level is crucial for ensuring that shelves, pot racks, and lighting fixtures are straight. A drill with various drill bits will be required for attaching your decor to walls or other surfaces. Measuring tape, a pencil, and safety glasses are also essential. Protective gloves will help handle pipes and fittings safely. Sandpaper can be used to smooth rough edges and remove imperfections. Having the right tools from the start will streamline the process and contribute to a high-quality result.
Step-by-Step Guide to Building Pipe Shelves

Gathering Your Supplies
Before you start, collect all necessary materials. This includes the desired pipe type (black iron, galvanized, etc.), pipe fittings (flanges, elbows, couplings), wooden boards for the shelves, screws, a drill, a level, a measuring tape, and safety gear (gloves and eye protection). Ensure you have enough pipes and fittings for the size and number of shelves you are planning. Choose boards that complement the aesthetic you want to achieve. Consider the weight capacity you need for your shelves when selecting board thickness and type. A well-organized workspace with all supplies within reach simplifies the process.
Measuring and Cutting the Pipes
Measure your desired shelf dimensions and the distance between the shelves. Using a pipe cutter or hacksaw, cut the pipes to the required lengths. Precise measurements are critical for a level and aesthetically pleasing result. If using threaded pipes, ensure the cuts are straight. If the pipes require threading, do so after cutting. Remove any burrs or sharp edges from the cut pipes with sandpaper or a deburring tool. Accurate measurements will ensure the shelves are structurally sound and visually appealing.
Assembling the Shelves

Assemble the shelf frames by screwing the flanges to the wooden boards. Then, attach the pipes to the flanges. Use a pipe wrench to tighten the fittings securely. Ensure the shelves are square and level as you assemble them. Check for any wobbles or instability and adjust the fittings as needed. Once assembled, clean any grease or debris from the pipes and boards. For a more finished look, you can stain or paint the wood shelves. Careful assembly provides a stable base for your shelf storage.
Securing the Shelves to the Wall
Once the shelves are assembled, it’s time to mount them on the wall. Using a level, mark the locations for the flanges on the wall. Drill pilot holes at the marked locations. Insert wall anchors appropriate for your wall type (drywall, concrete, etc.). Align the flanges with the pilot holes and secure them to the wall using screws. Double-check the level to ensure the shelves are straight. Test the stability of the shelves before placing items on them. Choosing the right wall anchors is important to handle the weight of your shelves and everything on them. A secure installation will add to the functionality and look of your pipe decor.
Building a Pipe Pot Rack
Designing Your Pot Rack

Before you begin, design your pot rack. Consider the available space in your kitchen and the number of pots and pans you want to hang. Sketch a design, noting the dimensions, pipe lengths, and the number of hooks you’ll need. Choose the hanging method – will it be suspended from the ceiling, mounted on a wall, or a combination of both? Plan for the weight capacity and ensure the design will support the weight of your cookware. Gather inspiration from online sources to determine your preferred style and create a pot rack that suits your needs. Planning and sketching helps you to stay organized, reduce material waste, and ensure the final product meets your kitchen’s practical and aesthetic needs.
Cutting and Assembling the Pipe Frame
Based on your design, measure and cut the pipes. Use a pipe cutter or hacksaw to cut the pipes to the required lengths. Assemble the frame using fittings like elbows, tees, and flanges. If you’re using threaded pipes, make sure the threads are clean before assembly. Use a pipe wrench to tighten the fittings securely. Ensure the frame is square and stable. Check your design plan frequently during assembly to make sure all the pieces fit and that the rack is the right size and shape for your kitchen. A well-constructed frame ensures a durable and safe pot rack.
Hanging Your Pot Rack
Determine the mounting location for your pot rack, whether it be from the ceiling or attached to the wall. If suspending from the ceiling, ensure the ceiling can support the weight. Use appropriate anchors for your ceiling type (wood beams, drywall, etc.). If mounting to the wall, install the supporting hardware, such as flanges or brackets, with screws. For a ceiling-mounted pot rack, use chains or sturdy rope to suspend the rack at your desired height. Once the hardware is securely in place, attach the pot rack to the hanging mechanism (chains, hooks). Make sure the pot rack is level and stable. Test its stability before hanging any cookware, for safety.
Creating a Pipe Lighting Fixture

Choosing the Right Light Sockets and Bulbs
Select light sockets that complement your design aesthetic. Consider the size and style of the sockets in relation to the pipe size. Choose the correct voltage (e.g., 120V for standard US outlets). Decide on the type of light bulbs you prefer. LED bulbs are energy-efficient and offer a variety of styles. Be certain the wattage of the bulbs you select is compatible with your sockets. Ensure the sockets are UL-listed for safety. The right light bulbs can significantly enhance the atmosphere of your kitchen. Consider a dimmer switch for more control over the lighting level.
Wiring the Light Fixture
This is a crucial step, and if you’re not familiar with electrical work, consider consulting a qualified electrician. Run the electrical wire through the pipe frame. Connect the wires to the light sockets, following the wiring instructions carefully. Use wire connectors to ensure secure connections. If you’re unsure about any step, seek professional help to ensure safety. Always turn off the power at the circuit breaker before starting the wiring process. Safety first is always the rule when dealing with electricity. Properly wiring your fixture ensures it functions correctly.
Installing the Lighting Fixture

Once the wiring is complete, it’s time to install the fixture. If the fixture will be suspended, attach the appropriate mounting hardware to the ceiling. If mounting to a wall, secure the fixture to the wall using screws and anchors. Connect the fixture’s wires to the existing wiring in your ceiling or wall, matching the wires correctly (black to black, white to white, and ground). Always follow the electrical code for your area. After all connections are made, double-check the connections to ensure no wires are exposed. Restore power at the circuit breaker and test the fixture. A successful installation brings light and functionality to your kitchen.
Finishing Touches and Styling Your Pipe Kitchen
Once your pipe decor is constructed, add finishing touches. Seal black iron pipes to prevent rust. Paint the pipes to match your kitchen’s color scheme. Consider adding decorative elements like hooks, labels, or reclaimed wood accents. Style your shelves with cookbooks, plants, and kitchen utensils. Use your pot rack to hang cookware within easy reach. The finishing touches are about adding personality and functionality to your decor. These elements will make your kitchen more welcoming. A well-styled kitchen adds a personal touch.
Cleaning and Maintenance
Regular cleaning and maintenance will keep your pipe kitchen decor looking its best. Wipe down pipes and fittings with a damp cloth to remove dust and grease. Inspect the fittings periodically to ensure they remain secure. For black iron pipes, reapply a sealant if necessary. Clean wooden shelves with a wood cleaner or polish. Address any rust spots promptly with a rust remover and sealant. Proper maintenance will extend the life of your decor and preserve its industrial charm. Regular care will prevent buildup and help your kitchen decor last for many years.
Styling Tips
Styling your pipe kitchen decor is about blending functionality with aesthetics. Arrange cookbooks and decorative objects on your shelves. Hang pots and pans on your pot rack in an organized manner. Use hooks to hang utensils and towels. Incorporate plants to add greenery and a touch of freshness. Choose accessories that complement your decor’s industrial style. Use lighting to create ambiance and highlight your decor. Don’t overcrowd your surfaces; a minimalist approach can be very effective. Styling adds the final polish to your industrial-chic kitchen, creating a cohesive and appealing look.
Safety Precautions
Safety should be a top priority when working with pipe kitchen decor. Always wear safety glasses and gloves when cutting pipes and assembling fittings. Ensure your work area is well-ventilated, especially when using paints, sealants, or solvents. Double-check all connections to ensure stability and prevent items from falling. When working with electricity, always turn off the power at the circuit breaker and consult a qualified electrician if you’re unsure about any wiring tasks. Follow all safety guidelines for the tools and materials you are using. By adhering to safety precautions, you’ll ensure that your DIY experience is both enjoyable and safe.